With the stress of school, sports, and friends, every once in a while, I like to take some time to unwind. I like unwinding with a book, a movie, or a bath. Often I’ll treat myself to a bath bomb or a new body scrub. Consistently doing this can get costly, so I decided to make my own bath bomb and body scrub.
After looking into different recipes for the scrub, I decided upon a brown sugar and vanilla sugar scrub. This scrub can be made with things that are easily found in the pantry, which is part of why I chose it. Some of the recipes called for sunflower oil, while others called for coconut oil. Some required two ingredients, while others were a little more complex. There are so many different recipes, that I decided to make my own.
For this Brown Sugar Vanilla Scrub, you will need
A small airtight container/jar
-an airtight container will keep the scrub fresh and longer lasting
1/2 cup brown sugar
-is a humectant which means that it absorbs moisture from the environment and deposits it into your skin
-is a light exfoliator so it will not leave microscopic tears like some salt scrubs do
-has glycolic acid, which fights bacteria
-does not clog pores
-is an even less rough exfoliator than brown sugar is
1/4 cup white sugar
-has the same benefits as brown sugar
1 tbsp. vanilla extract
-this is a cheap alternative to essential oils which can range from $5-$20
2 tbsp. coconut oil (replaceable with olive oil, almond oil, etc…)
-softens skin
-natural moisturizer
-helps prevent dry and flakey skin
1 tbsp. honey
-is a natural antibacterial which is good for acne treatment and prevention
-anti-aging
-gives the skin a glow
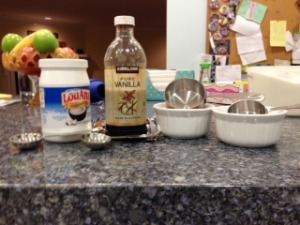
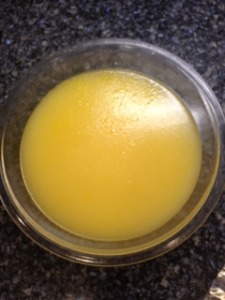
Now, grab a small bowl and melt the coconut oil and the honey together. Next, combine all of the ingredients in either that bowl, or a different one. Make sure that the sugar is broken up and evenly coated with the coconut oil, honey, and vanilla extract.
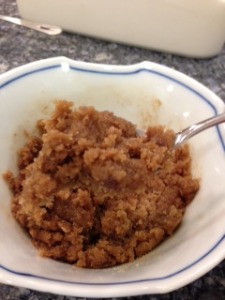
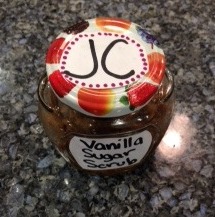
If the scrub seems too dry, add a little more oil or extract. If the scrub seems to wet, add a little more brown sugar. Once the scrub is to your desired consistency, pack it up in the little jar. I decorated my jar using some sharpies and a hot glue gun, but feel free to put stickers, ribbon, or any sort of design on the jar.
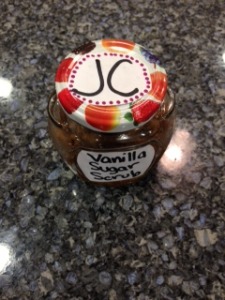
This sweet smelling scrub can be used to exfoliate your face, your lips, or your body. It’s easiest to use in the shower once your face/body is already wet. It’s super easy to wash off and will leave all of the boys calling you “sugar, sugar.”
The next thing that I decided to make is bath bombs, that are sure to be the bomb. The fun thing about making your own bath bombs, is that you can choose what colors and scents that you want them to be. Again, I looked into the many different ways that one can make a bath bomb. I decided upon the one that was easiest for me, which was off a sight called brightnest.
Here is a list of things that you will need. Some of these ingredients can be hard to find, but I purchased all of mine at Whole Foods.(The materials are different on the website, but this is just what I used because I was unable to find some of the items)
A muffin tin and liners or a silicone mold
8 oz. of baking soda
4 oz. of citric acid
-this is what makes the bath bomb fizz
4 oz. of corn starch
4 oz. of fine grained epsom salts (I did not buy the fine grained, so I ended up grinding them up in a food processor)
¾ tsp. of water
10-15 drops of an essential oil of your choice (I chose tangerine)
-essential oils make the bath bomb smell delicious
2.5 tsp. coconut oil
-this helps soften your skin and make the bath more moisturizing
4-5 drops of food coloring (I chose red and yellow to make an orange color)
-makes the bath water a different color
-be careful not to use too much, or it will leave a color ring around the bath tub
To make the bath bombs, measure out the dry ingredients (baking soda, citric acid, corn starch, epsom salts) first, and put them in a large bowl. Then, melt the coconut oil in a small bowl. When it’s fully melted, measure out all of the other wet ingredients (water, essential oil, food coloring) and put them in the same bowl that the coconut oil is in. Give the wet ingredients a stir to make sure that they are combined.
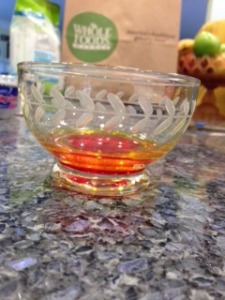
Then, give the dry ingredients a mix to make sure that they are blended well.
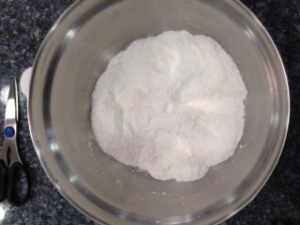
The next step is very important, because if you add the wet ingredients to the dry ones all at once, the reaction and fizzing will start to happen. Putting the liquids into a spray bottle makes the mixing process easier, as the spray bottle can distribute a thin and even layer over the other bowl of ingredients; however, I just poured in a little bit of the wet mixture into the dry mixture. Every time you add more to the dry mixture, make sure to mix it so that the clumps are separated. I used my hands because I, personally, found it easier to combine the ingredients more evenly. If you prefer to use a whisk, that’s fine as well.
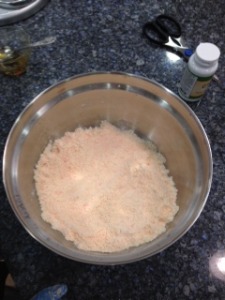
Once the mixture is fully blended, clumping together, and the texture of wet sand, it’s time to pack the bath bombs into their molds!
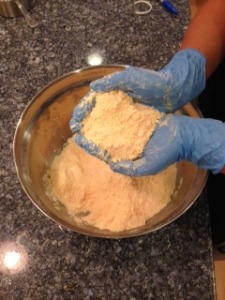
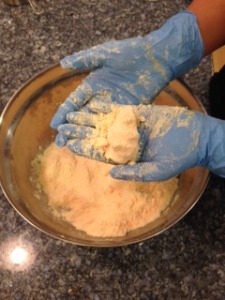
I used muffin liners and a muffin tin, but feel free to use a silicone mold. After adding a bit of the mixture to the mold, make sure to pack it down. I did so using a 1/3 measuring cup, but hands will work just as well.
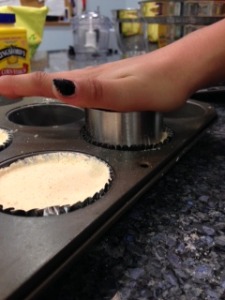
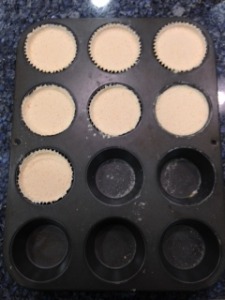
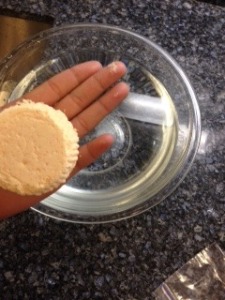
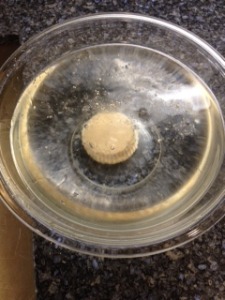
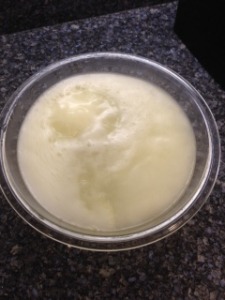
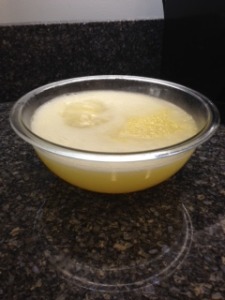
You have to pack the mixture in, so that when we pop them out, they will stay together. Let them sit for at least 36 hours. Then, test them out!
