Whether everyone admits it or not, we all take selfies and before you can post that selfie or the picture you took of the sky onto you’re social media, you need to edit it. As much as we wish that our pictures came out flawless with that perfect lighting and the color being the right tone, most of the time it doesn’t happen.
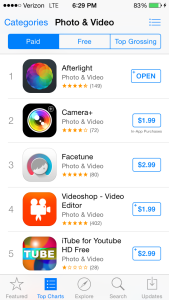
The first step in editing the picture to make sure that it is postable is to find the right apps. When you go onto the App Store in your device, click the top charts button on the bottom row. After selecting that you will see a list of the top apps on the app store. Look in the top right and click on the categories button and scroll down until you see the Photo & Video option. When you click that you’ll be able to scroll there will be a list of different apps to choose from. Generally, the apps that you have to pay for will be able to edit your photo more than one that is free.

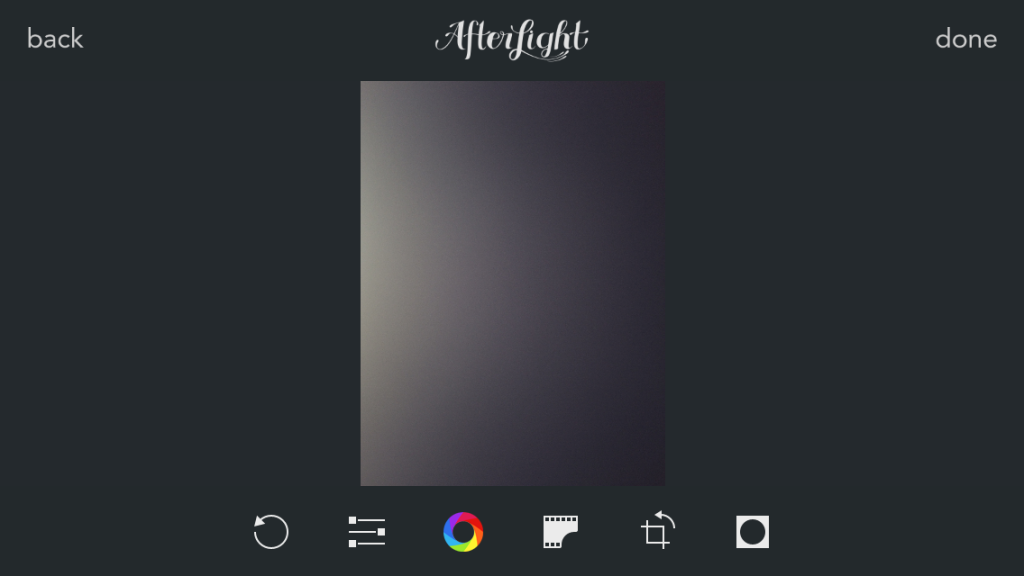
After scrolling through and finding the perfect app to edit you’re photo, it’s time to start editing. Whether it’s a selfie or that picture of the sky it’s always best to first press the enhance button, to make it even better before you start truly editing. Once that’s done you can scroll though the other options of filters and other editing tools.
On the right is a photo of a before and after the editing process.
For more tips on editing for your social media accounts check out this site.


